Happy belated Halloween, friends!
Oh my gosh do I have a fun recipe for you!
Yesterday I posted this recipe on my Instagram and TikTok pages, and I thought YES! this has to make an appearance on the blog as well!
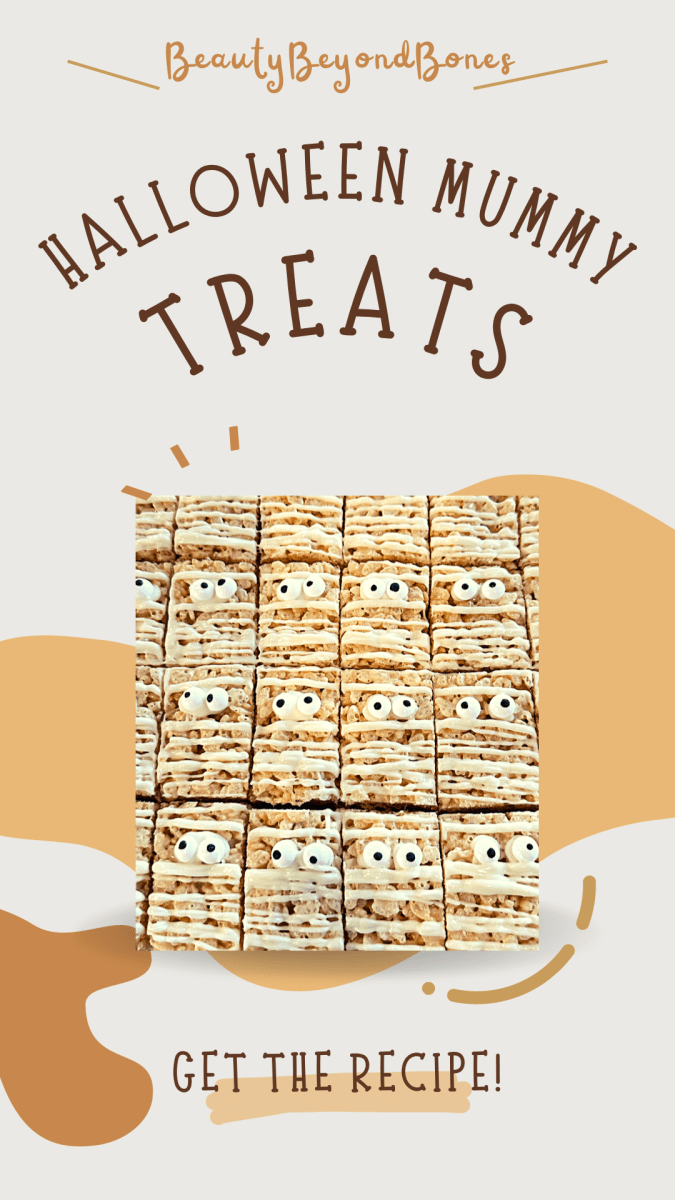
Introducing my spooky Mummy Rice Krispie Bites!
Steven and I went to a costume party last night for Trick or Treating, and so I wanted to bring these cute little treats, and let me tell you: they were the hit of the party!

The kids loved ’em, the adults loved ’em! They were gobbled up before we even hit the streets for trick or treating!
And they’re gluten and nut free for all my allergy-friendly folks out there!

*Protip: You may think that they look too small, and you may be tempted to cut them into larger rectangles, but I assure you, they are just the right size. Not only because you’re going to be getting Halloween candy later that day, but also because they’re “poppable” — you can eat one and be satisfied, or pop two and not feel like you’ve overdone it on the sweets!
Here’s what you need: (Makes 32 bite sized mummies!)
6.5 cups rice krispie cereal
1 10oz bag of mini marshmallows
1 stick salted butter (I used Kerrygold)
1 bag white chocolate chips
64 candy eyeballs — I got mine here, on Amazon! (You can also use mini chocolate chips for the eyes)
Tools:
Ziptop bag
9×13 inch nonstick baking tray
Large stock pot
Silicone Spatula
Measuring cups
Parchment paper
Directions:
1. First, prep your baking tray: Butter your tray, and then also place parchment paper inside (this allows for easy extraction from the tray!)
2. In a large stock pot, melt the butter over medium heat. **Save the butter wrapper!** Once the butter has melted, add the mini marshmallows and stir until they are also completely melted.
3. Add your cereal and quickly stir until it is completely coated with the marshmallow and butter mixture. Transfer to your prepared tray. Then, using the butter wrapper that you saved, press the rice krispies evenly to all the edges of the tray.
4. Let cool completely. (You may put it in the fridge for 15 minutes if you’re in a rush).

5. Once cool, remove from the tray with the parchment paper and cut into your desired number of rectangles. I made 32 bite sized mummies, but you can also make 10 big ones if you’d like, or 24 mid-sized mummies…it’s up to you! ((I found it helpful to use a ruler or tape measure)).

6. Melt your white chocolate chips in the microwave, in thirty second intervals, stirring after each time until completely melted.
7. Transfer to a ziplock bag, as your makeshift “piping bag.” Attach the eyeballs to each rectangle using the chocolate as “glue”.

8. Finally, pipe the chocolate across the rice krispies haphazardly to create the look of the “wraps”. (I found it helpful to carefully go around the eyeballs first, and then create the rest of the wraps so as not to pipe over the eyeballs.
9. Lastly, while the white chocolate is still wet, re-cut your rectangles so that the chocolate is able to separate easily without breaking or chipping.
Oh my gosh, these were so good! I may have used a little bit more butter than the traditional rice krispies recipe calls for, but that just because it makes them taste wayyy better! (It’s the salt that off-sets the ultra sweet marshmallows and white chocolate).
There’s nothing quite like a homemade rice krispie treat. Don’t get me wrong: store-bought ones are great, but there’s nothing that beats the buttery, chewy, stickiness that comes from a fresh-from-the-oven rice krispie treat. Nothing. In fact, growing up, I would say that I prefered a rice krispie treat to a cookie any day!

But these were just so stinkin cute with the eye balls, and they really did look like cute, friendly little mummies! “They have EYEBALLS!”

We had so much fun! And it makes us pray all the more that one day hopefully soon God will bless us with a little Trick or Treater of our own! ?
So save this for next year! I promise, they will be a HUGE HIT at your Halloween party!
Until tomorrow!
